Firmware Upgrade
Firmware updates contain bug fixes and new features. The current firmware is supported by CPU G3 SE, and CPU G3 PE hardware. See the Compatibility Guide for more information.
CPU G2 software support is removed
0.29.8 is the last CPU G2 compatible release. Newer releases will not support the CPU G2 hardware.
Upgrade G2 Software
Upgrading a G2 system is a button press away if you have a networked printer with internet access. Otherwise you can download an offline installer and install with a USB stick.
Installation details are described in Software Update.
Firmware Download
Download the latest firmware and find the full release notes here.
All installation packages can be found in the firmware download area.
Upgrading from Ubuntu 16.04 to Ubuntu 20.04 on CPU G3 PE
0.30.0 will be the last version that supports CPU G3 PE boxes with the Ubuntu 16.04 operating system. In order to continue updating a CPU G3 PE box to newer versions, you must reflash it using a USB Stick with a new operating system.
In Markerapp 0.30.0 and later you can see the Operating System version under .
This process will overwrite all information on the internal persistent storage, so it’s important that you create backup before you start the procedure. If you do not make a backup you will lose all your system configuration.
Requirements: An Evolabel compatible screen, a USB keyboard and a 4+ GB USB thumb drive.
Make a backup of your current system configuration.
Note that backups stored on the CPU box itself will be erased by the upgrade process. If you have a functioning Backplane Memory, a copy of the backup will be stored there when you chose to make a Manual Backup to the CPU Unit. This can be used to restore system settings after the firmware has been reflashed. Otherwise you can also make a backup to a separate, external USB memory.
Download the CPU G3 PE Flash Tool image.
Write the image to a USB drive. The process is described in the instructions on how to Prepare USB drive.
Power down your CPU G3 PE Box.
Connect a screen and a keyboard to your CPU G3 PE Box.
Insert the USB drive in you CPU G3 PE Box.
Power up the CPU G3 PE Box.
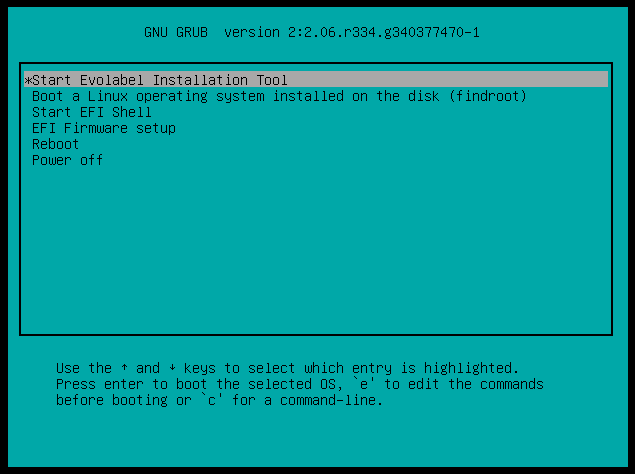
You will be presented with this screen. Either press Return or wait twenty seconds.
After the CPU G3 PE Flash Tool has booted up, you will be presented with a confirmation screen:
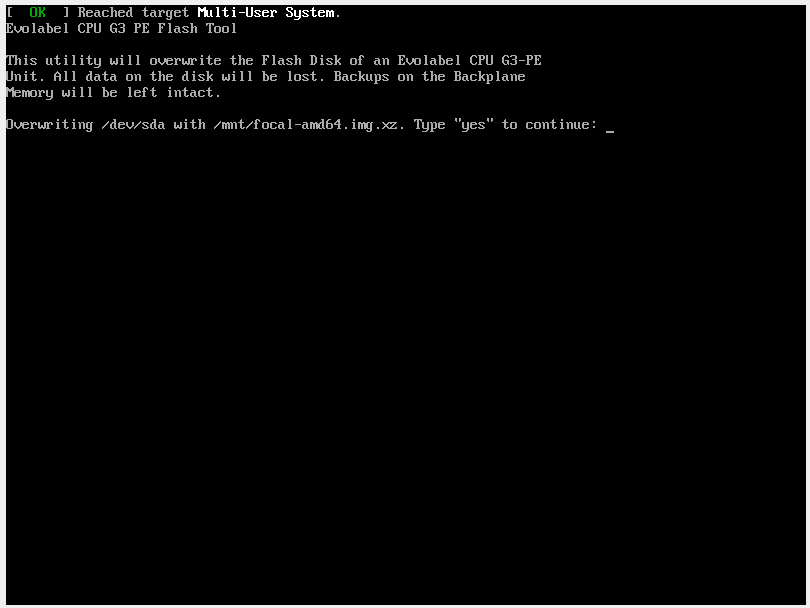
This is the point of no return. Type
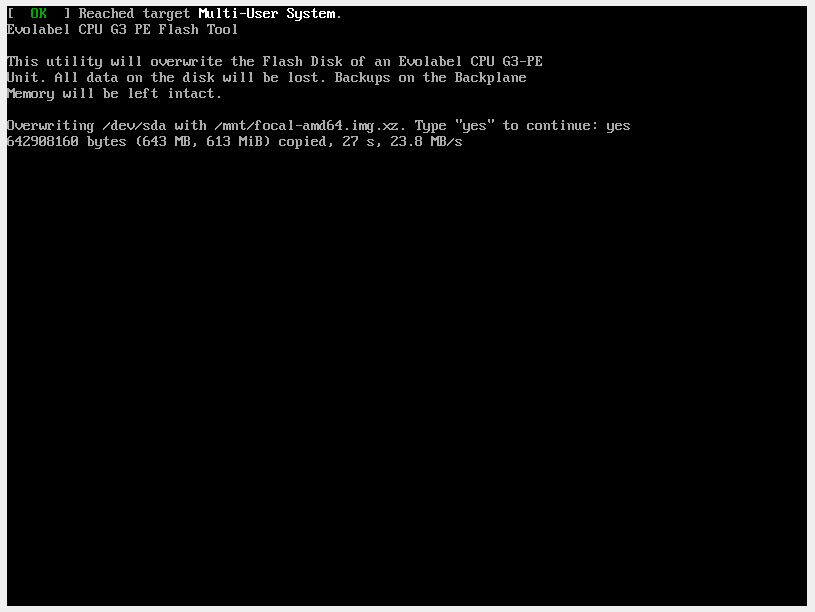
yesand press Return to overwrite the persistent storage in the CPU G3 PE box with the new firmware image.The CPU G3 PE Flash Tool will start writing the image to the disk, a simple status report will indicate how far it has come. The total amount of data is roughly 4 GiB.
When the image has been written, the CPU G3 PE Flash Tool will ask you to press Return to shut down the system.
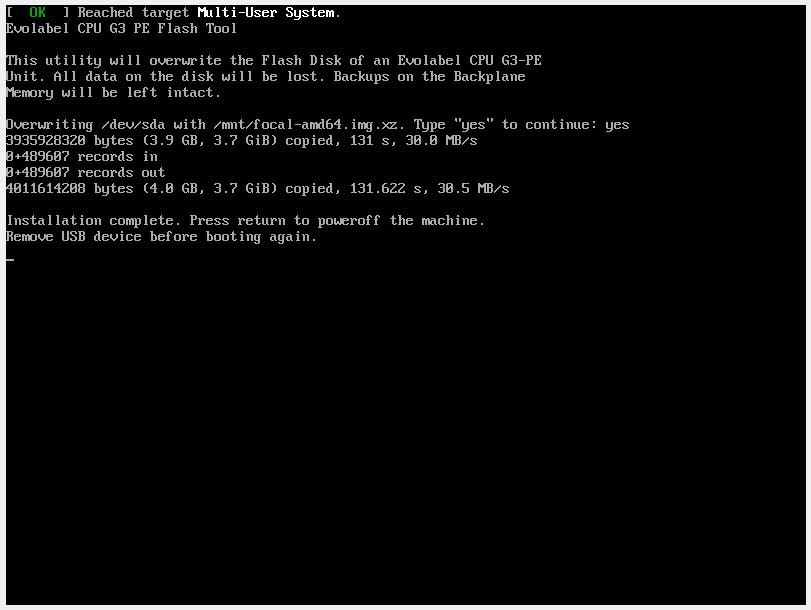
After shutdown, press the power button to power off the system.
Remove the USB drive.
Power on the machine again.
Restore the backup you took in step (1) according o the procedure described in the backup documentation.
Legacy Support
Upgrade from G1 to G2 Software
If you have a CPU G2 unit with G1 software, it is possible to upgrade to the G2 software generation by following the G1 to G2 upgrade guide. Note that a full installation configuration is required, as G1 setups do not contain all necessary information for a G2 configuration.
Downgrade from G2 to G1 Software
If you have a CPU G2 unit running G2 software but want to use it in a legacy system, it is possible to downgrade to the G1 software generation by following the G2 to G1 downgrade guide.