External Sequence Control
Warning
Draft - ongoing implementation.
When enabled, allows the applicator sequences to be controlled from an external system, either by JSON-RPC, Digital I/O, or Modbus TCP.
A normal use case for External Sequence Control is for e.g. pallet labeling where the print job only contains the labels (pages) needed for that product. The labels are to be ordered in the expected apply sequence. Using External Sequence Control, the printing and applying is controlled entirely by an external system.
Setup Guide
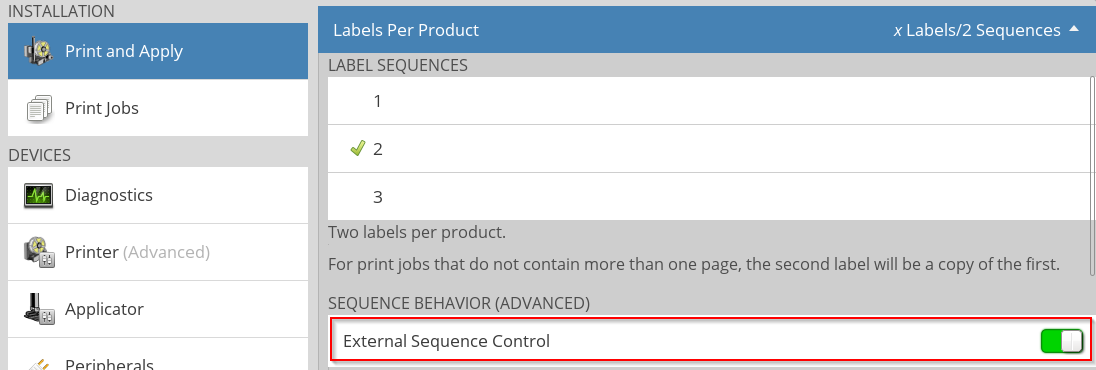
Print and Apply -> Labels Per Product -> External Sequence Control. Click the slider to enable.
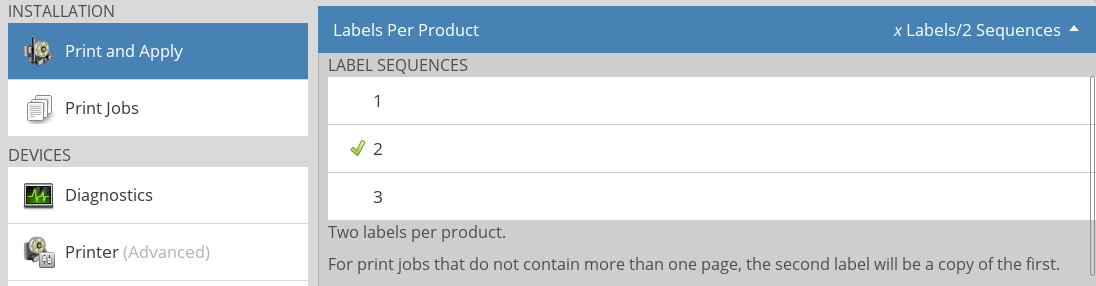
Select number of preconfigured sequences This is done through the Labels Per Product setting E.g. 2 sequences
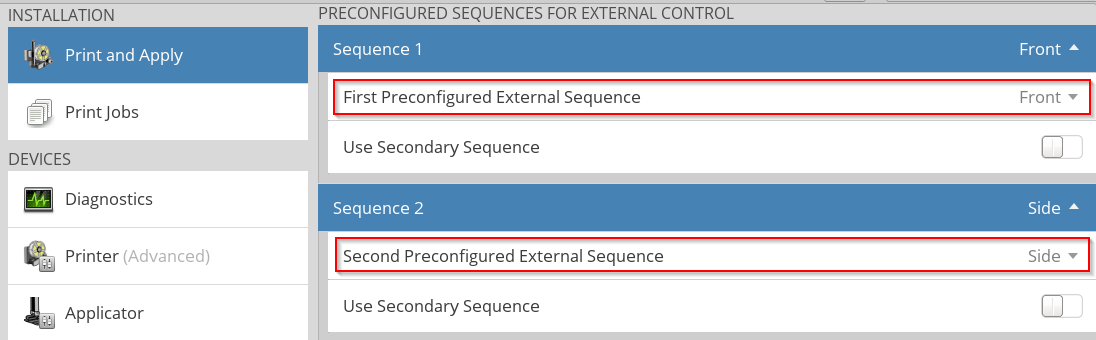
Setup which side each sequence represents.
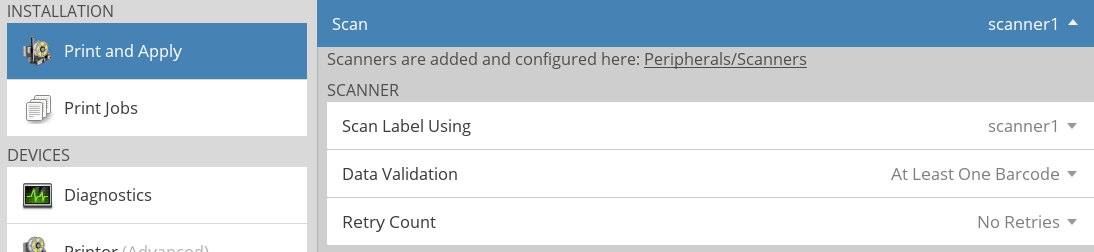
Select if a scanner is to be used. The scanner must first be setup and enabled from the Peripherals menu.
On the applicator page, setup the apply position for each sequence / side.

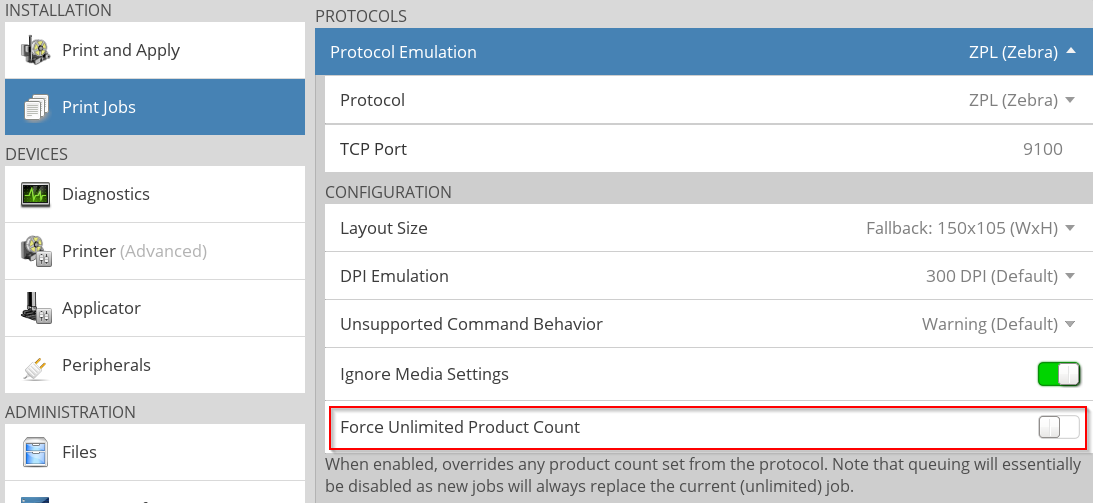
If Protocol Emulation data (e.g. ZPL) used, disable Force Unlimited Product Count.
Print Job
The active print job is used until it expires (see product_count) or the jobs queue is cleared (see jobs.clear). Recommendation is to disable Force Unlimited Product Count if Protocol Emulation data (e.g. ZPL) is used.
New print jobs received, within the printing sequence, will be added as extra pages to the job currently active. On multi-page print jobs the next page is rendered immediately after the printing the current page. This means that the next page must be available to the printer before the current page is printed.
Control using JSON-RPC
JSON-RPC gives full control over the external sequence control.
- The active label can be printed with the sequence.print command.
- Apply
- A printed label can be applied using JSON-RPC with the sequence.apply command. The parameter specifies the product face.
- Finish Sequence
- The sequence can be finished using JSON-RPC with the sequence.finish command. Sending sequence.finish tells the printer that the current products is fully processed and at the same time puts the printer in a state to receive data for the next product.
Control using Digital I/O
When External Sequence Control is activated, the digital inputs are automatically assigned to the following functions:
| Input | Function |
|---|---|
| TRIG1 | Level activated print trigger. |
| TRIG2 | Level activated apply trigger. |
| IN2 and IN1 | Selects Label Sequence or Finish Sequence command. |
IN2 and IN1 encodes the binary value of the apply positions and the Finish Sequence command according to this table:
Optionally, IN3 and IN4 can be used instead of TRIG1 and TRIG2 on printers using CPU3 hardware. This document uses TRIG1 and TRIG2 in its examples, but the functionality is equivalent if IN3 and IN4 are substituted for TRIG1 and TRIG2.
| IN2 | IN1 | Function |
|---|---|---|
| 0 | 0 | Finish Sequence |
| 0 | 1 | Apply Position 1 |
| 1 | 0 | Apply Position 2 |
| 1 | 1 | Apply Position 3 |
Activating TRIG1 prints an active job immediately or a pending print job using best effort.
Example: Trigger printing of an active job on TRIG1
Example: Trigger printing by sending job when TRIG1 is active
- Apply
Trigger applying on a product face by:
- Selecting the associated label sequence using IN2 and IN1.
- Activate TRIG2.
Example: Trigger Apply Position 2 when printing is finished
Example: Trigger Apply Position 3 as soon as printing is finished
- Finish Sequence
Trigger end of sequence by setting IN2 and IN1 both to inactive, and then activate TRIG2. This tells the system that the complete product sequence is finished.
Example:
Control Using Modbus TCP
See Modbus TCP