Media Management
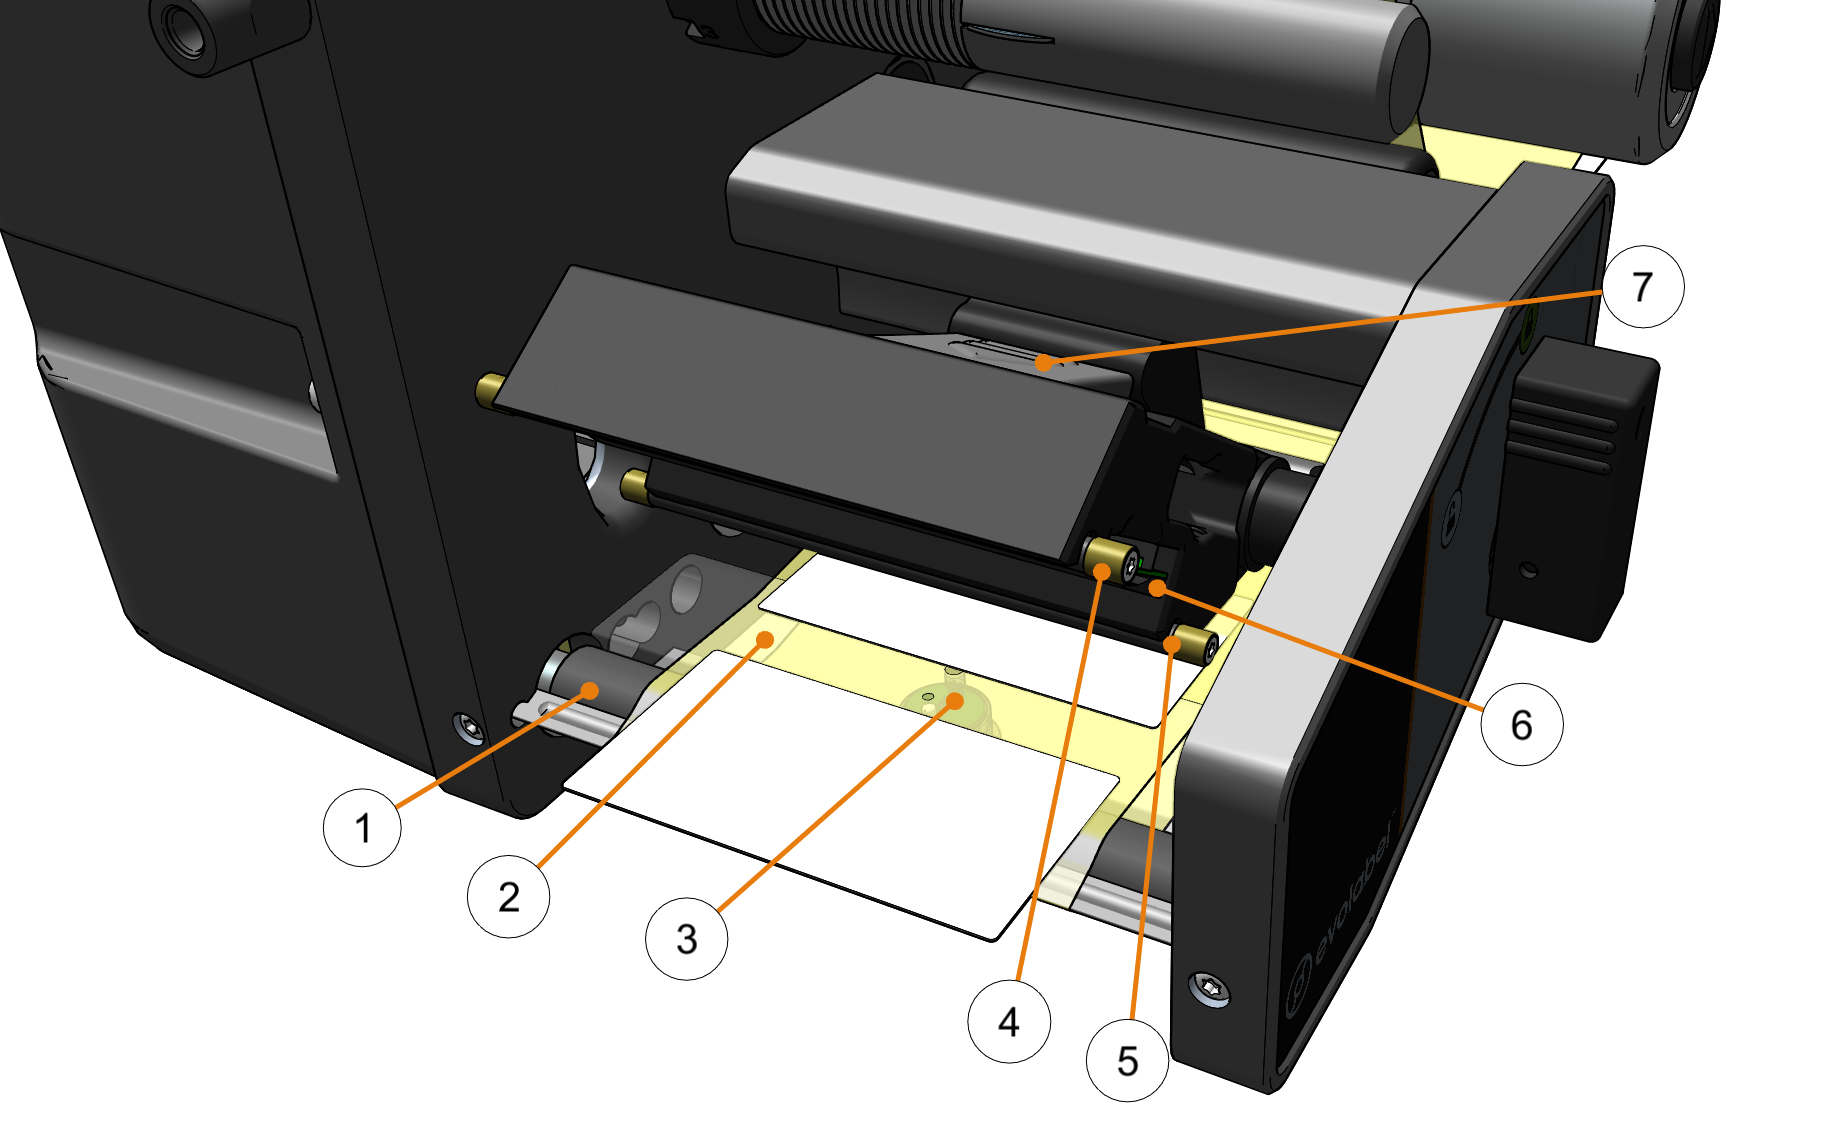
Key Components
- Print roller
- Label gap
- Media sensor
- Stabilizing bar (outer)
- Stabilizing bar (inner)
- Print head
- Print head cover
Note that T63 G2 has a shorter print profile and lacks #4 Stabilizing bar (outer)
Media Detection
The purpose of the Media Detection is to detect the gaps between labels.
The Media Sensor is used for this operation.
For Paper Out, the sensor in the Label Roll Supply Post is used.
Media Sensor
The gap between the labels are detected by the Media Sensor. The sensor is positioned in the center of the paper path, just behind the print head. In you can select the sensor type used in your printer.
The media sensor is behind the brass cover under the paper path.
- Auto (default):
The sensor type is selected automatically based on the printer model. D43 printers with a serial number below 5000 have a translucent media sensor. All other models: Reflective
- Translucent
This sensor type is only used for D43 printers with a serial number below 5000.
There is a transmitter below the labels, and a receiver in the print head profile. The transmitter emits light through the media, the receiver detects the amount of light passing through the media.
- Reflective
The receiver and transmitter are in the same sensor unit that is located below the media. The light sent out from the sensor reflects on the label backing paper and is detected by the receiver. The white label generally reflects more light than the gap.
What does the reflective media sensor see?
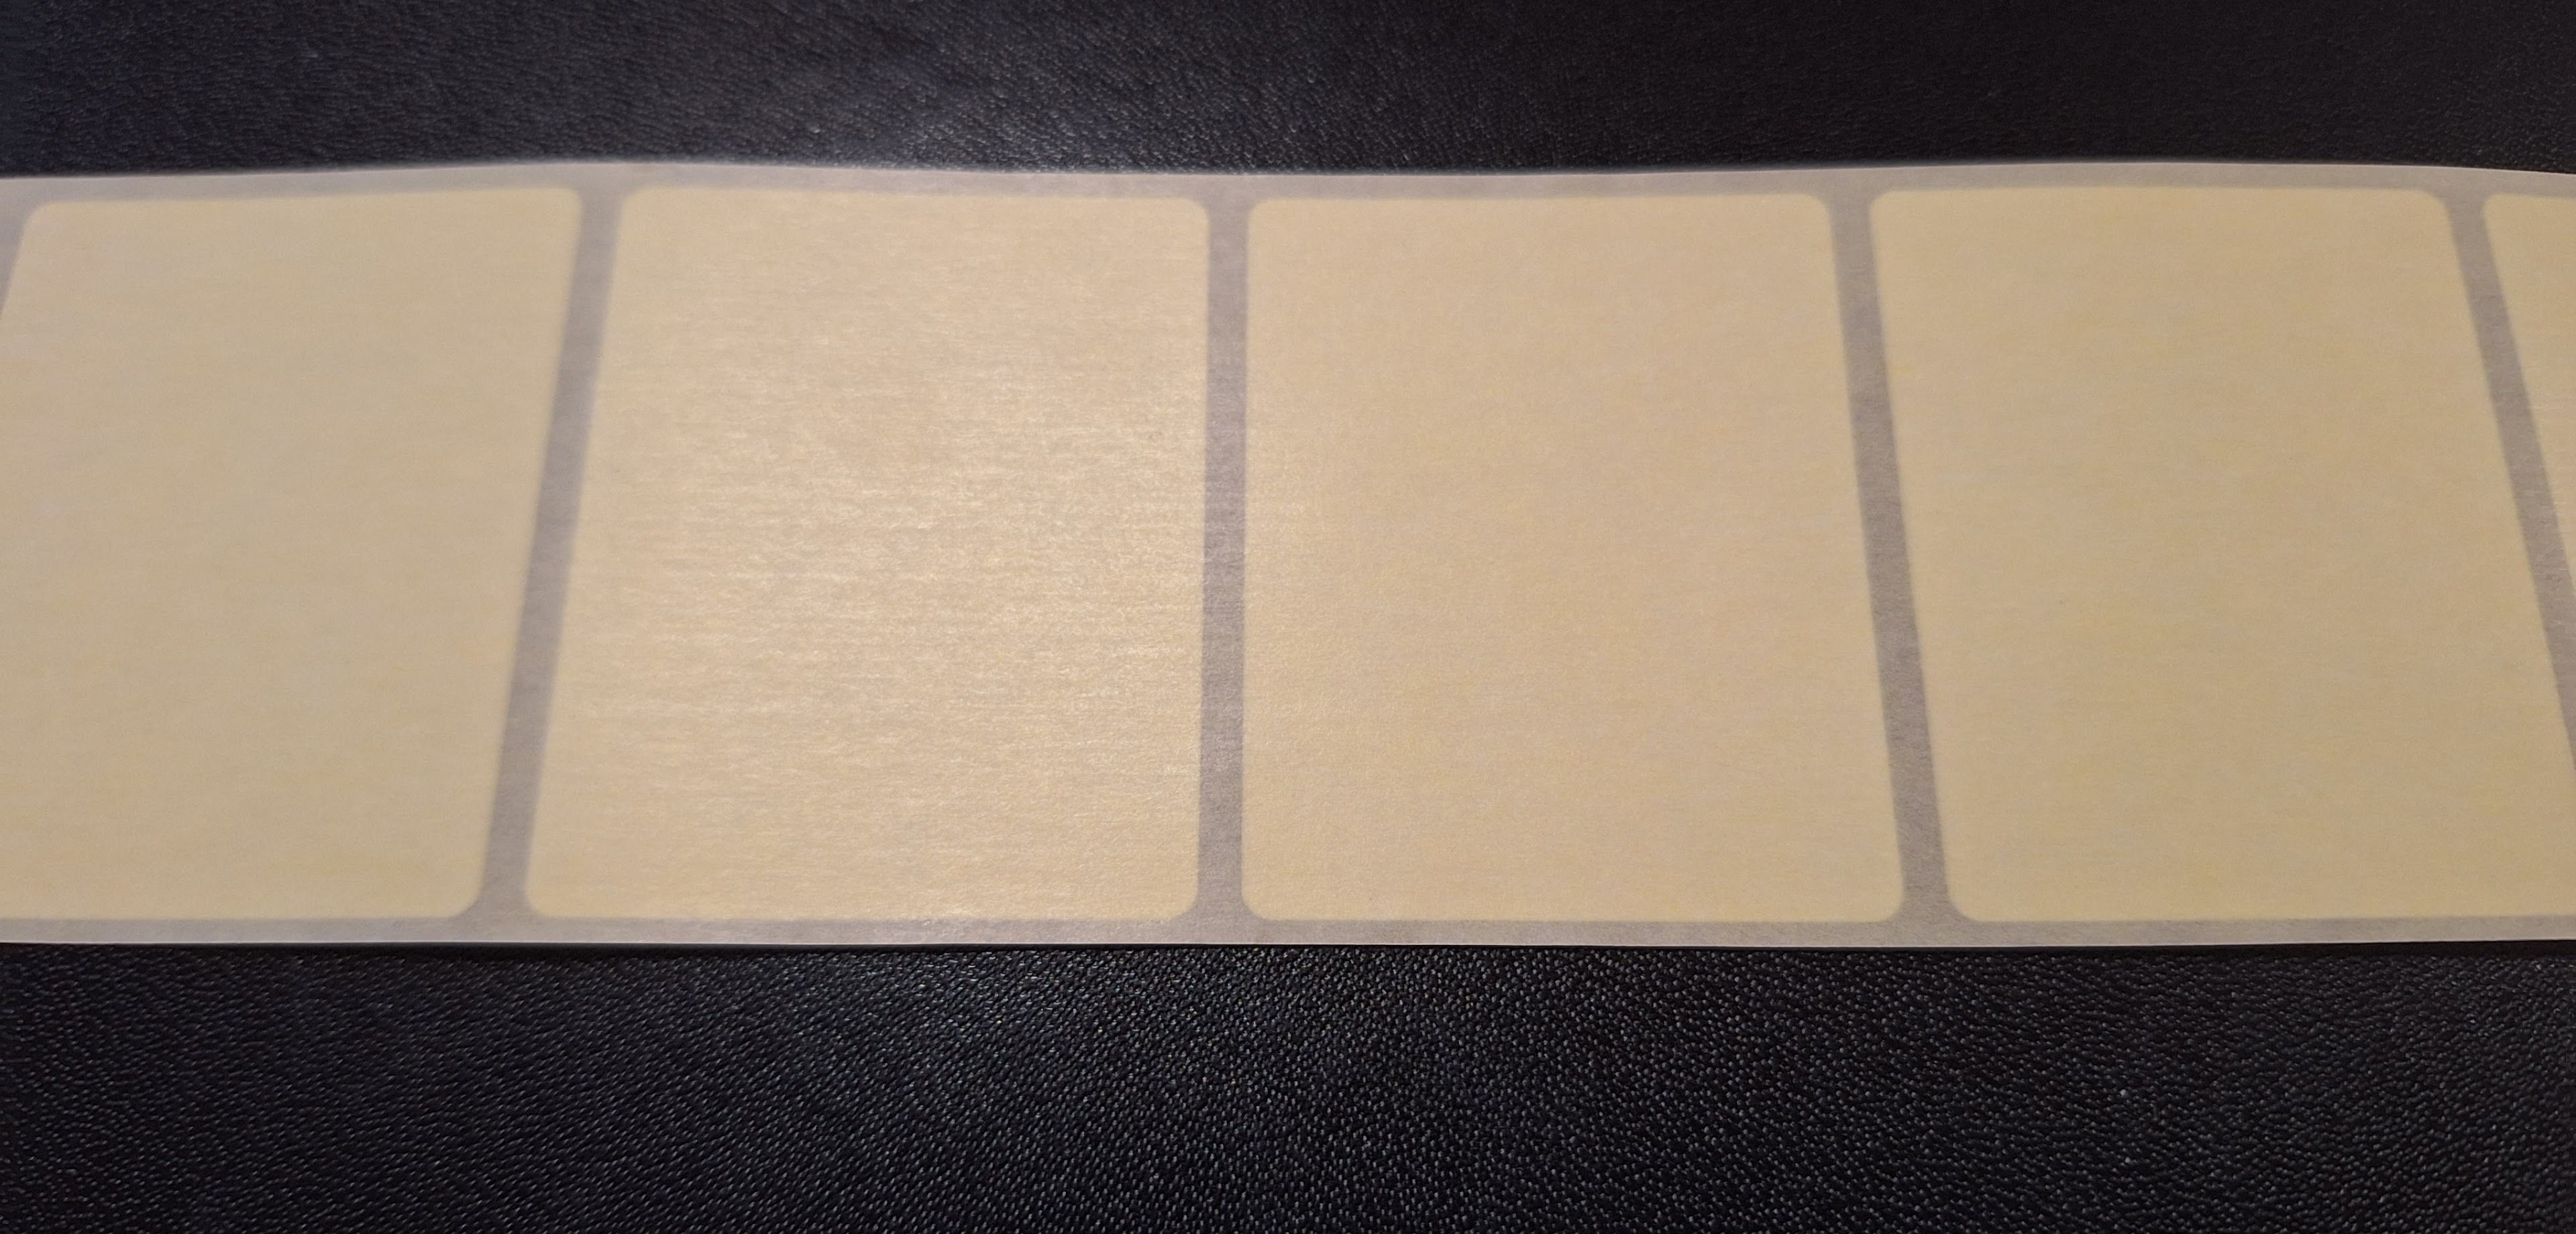
Place your labels with the back side up on a black surface. This pretty much shows what the reflective media sensor detects. The bigger difference between labels and gaps, the easier it is for the printer to detect a gap.
Media Sensor Calibration
The media sensor is calibrated each time the printhead is lowered. The calibration includes the threshold values for label/gaps and the label length.
The result of the last media detection can be found in .
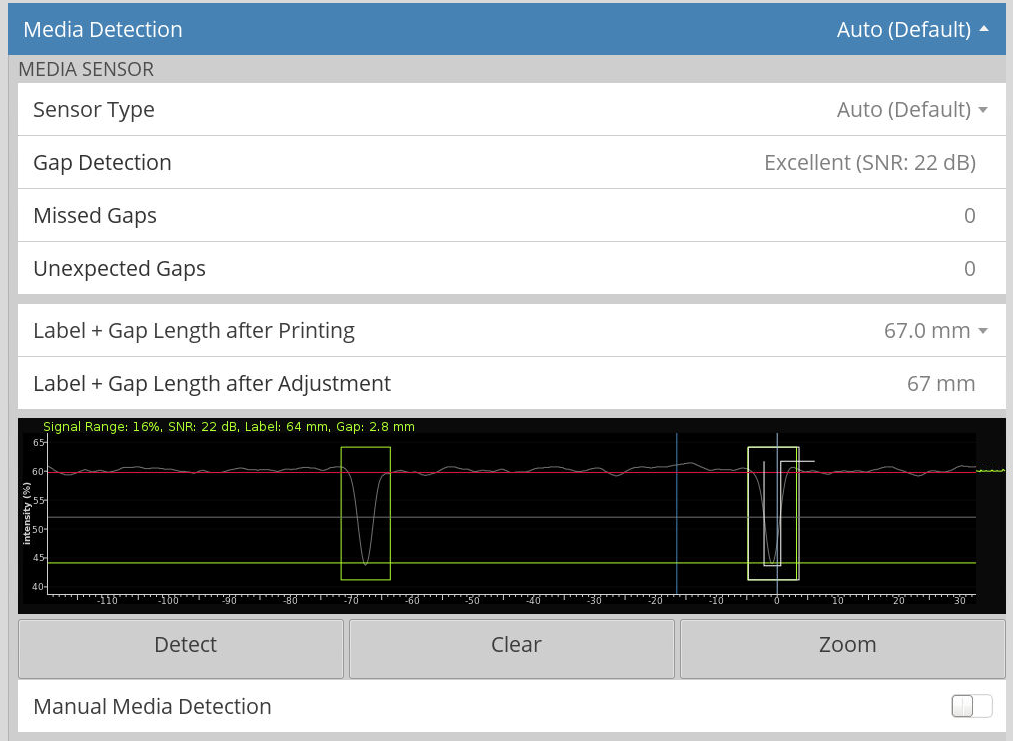
See Printer UI manual for information about information displayed on this page.
Criteria for a successful media calibration
- Distinct difference in sensor readings between label and gap
- Consistency in label and gap length
- Functional rewinder (if enabled)
- That media sensor has a free line of sight to the media.
I.e. that there is no dust or label remains blocking the sensor hole. - Applicator not in alarm state.
Software Settings
See the Printer UI manual for settings related to the Media Detection.
Inner Stabilizing Bar
The Inner stabilizing bar is mounted onto the printed profile and its purpose is to press down and flatten out the labels. The functionality of this bar is vital for good gap detection.
The stabilizing bar is spring loaded. The functionality of the bar is reduced if the springs are damaged or the bar cannot move freely.
Label Adjustment Won’t Start
Self adjusting applicator (like the QuickTamp) needs to be adjusted before the media can be adjusted. If the printer won’t start the media adjustment, start by verifying there are no applicator related error messages.
Paper Out
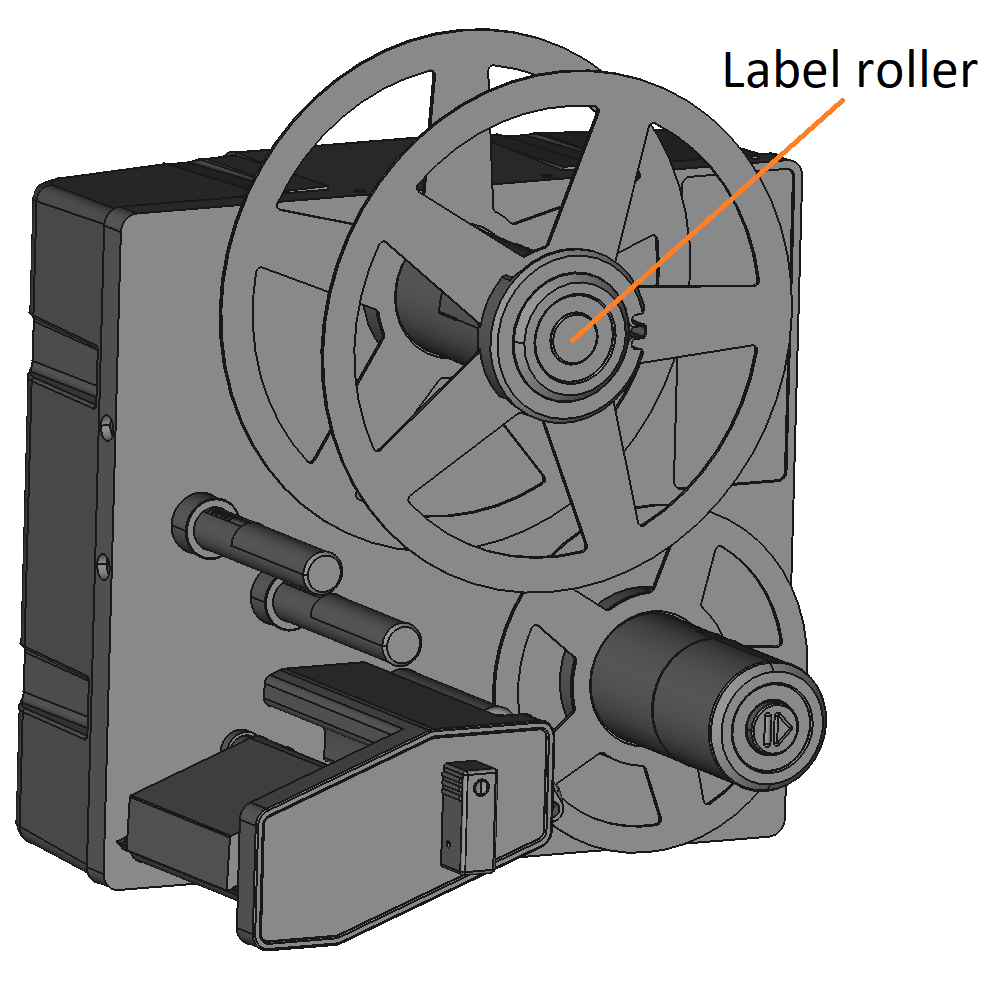
The label roller is used for paper out detection. If the roller is rotating when the printer prints / feeds media there are labels loaded. Paper out if not rotating. At the end of a paper roll the last label releases from the paper core which stops the label roller from rotating. Printer knows the distance from the paper roller to the print head and the label size. Using this information it tries to print on as many labels as possible and leave the very last one unprinted.
Why not print on the very last label in the roll?
The labels are usually attached to the paper core by e.g. a piece of tape. Printer cannot print on tape so this label cannot be used. Risking to have a label with half a barcode is not an option.
What if the last label is not attached to the print roll?
Printer knows there are labels loaded when the paper roller rotates. If the labels are not attached to the paper core the label roller won’t spin and the printer reports a paper out.
Paper Out Sensor
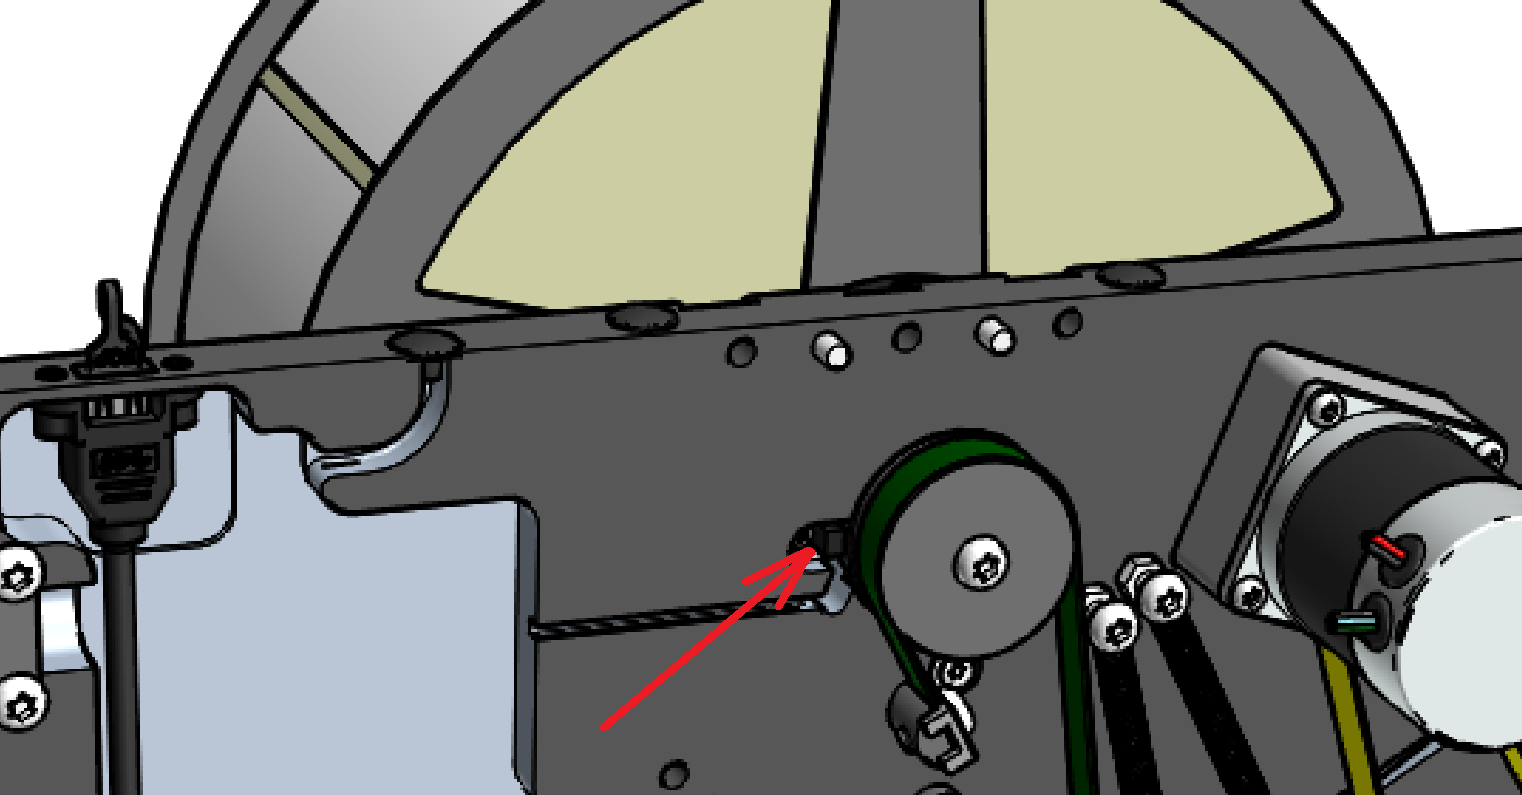
The Paper Out Sensor detects rotation in the label roller. To verify the functionality, go to . The sensor state should toggle between 0 and 1 when rotating the label roller.

The value of the Paper Roll Sensor toggles between 0 ant 1 when the label roller is turning.
Paper Low
During printing the printer detects the speed that the label roller rotates. The speed then translates into a calculated outer roll diameter. The calculated roll diameter is presented in . A full roll is expected to be 300 mm in diameter. The Paper Low setting is in % of a full roll. A Paper low warning is issued when the calculated outer diameter is below the Paper Low threshold. The Paper low warning gives a heads up when to replace the label roll.
Print Roller
The condition of the print roller is of high importance for the printer’s ability to feed labels in a controlled way. It’s natural for the print roller to be a bit worn where the media is. The print roller diameter is slightly thinner here. Normally this is not a major concern assuming that the same media width is used over and over again. But it might be an issue if changing to a wider media. As the center of the print roll is thinner the printhead pressure will not be evenly distributed along the media width with possibly print quality and feeding issues as a result.
Ribbons
Ribbon Roll Sensor / Ribbon Out Sensor
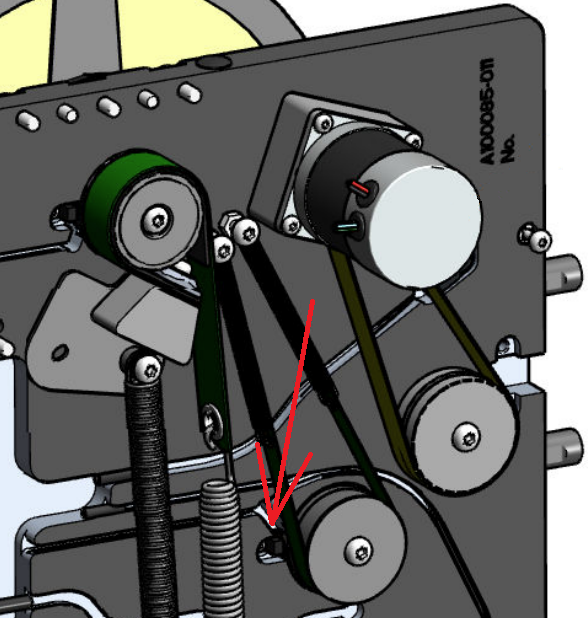
The Ribbon Roll Sensor detects rotation in the ribbon unwinder shaft. To verify the functionality, go to . The sensor state should toggle between 0 and 1 when rotating the ribbon unwinder shaft.
Ribbon Out Detection
There are two types of Ribbon Faults, both reported as Ribbon Out in the printer software.
- Ribbon Out
- The ribbon unwider (unused ribbon) is empty. No pulses detected by the Ribbon Roll Sensor.
- Ribbon Broken
- The ribbon rewinder motor detects a too low torque needed to turn the ribbon rewinder.
